Table of Contents
Introduction
The folks have been consuming a bowl of ice cream for generations. Although it is exciting to walk or jog to your local ice cream shop to sample new inventions in their products, there is nothing as satisfying as making your own homemade gourmet ice cream. The countertop ice cream maker, the Ninja Creami, helps make this dream a reality, and it is also easy to use. Today, let us show you an easy recipe on how to make Red Velvet Ice Cream using this kitchen appliance.
Welcome to our amazing cooking adventure!
What is Ninja Creami?
Another common and unique kitchen appliance for soft serve ice cream is Ninja Creami this appliance does not need the use of an ice cream machine or its attachment and there isn’t the need to freeze the ice cream buckets. However when in this machine the holder given has a special paddle that turns into a closed vessel and this turns the mixture into a thick creamy mass within minutes.
More people who need homemade ice cream have opted for Ninja Creami because this ice cream is set up to be very intricate and simple and its functions are easy to use. However, as promised now I’ll outline some of the factors that make making a Red Velvet Ice Cream a good decision for this machine.
Why Red Velvet Ice Cream?
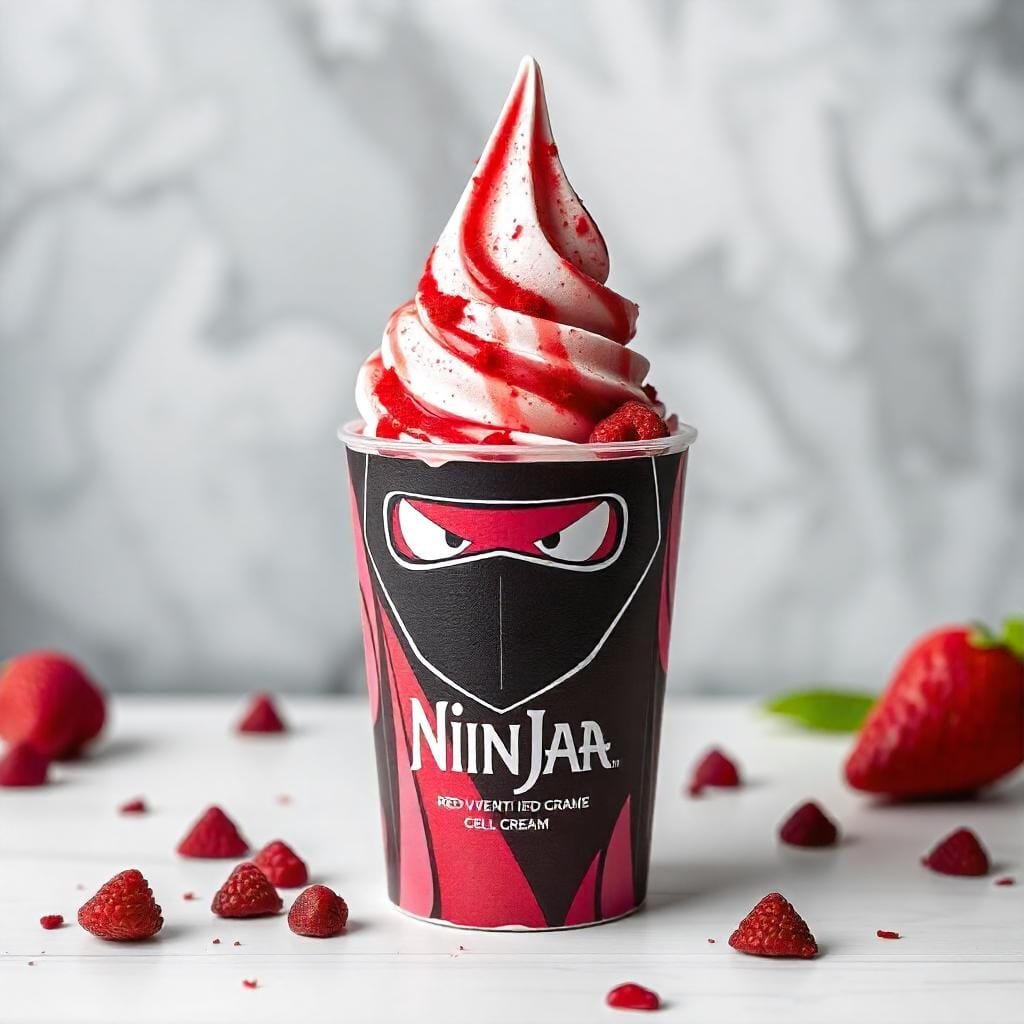
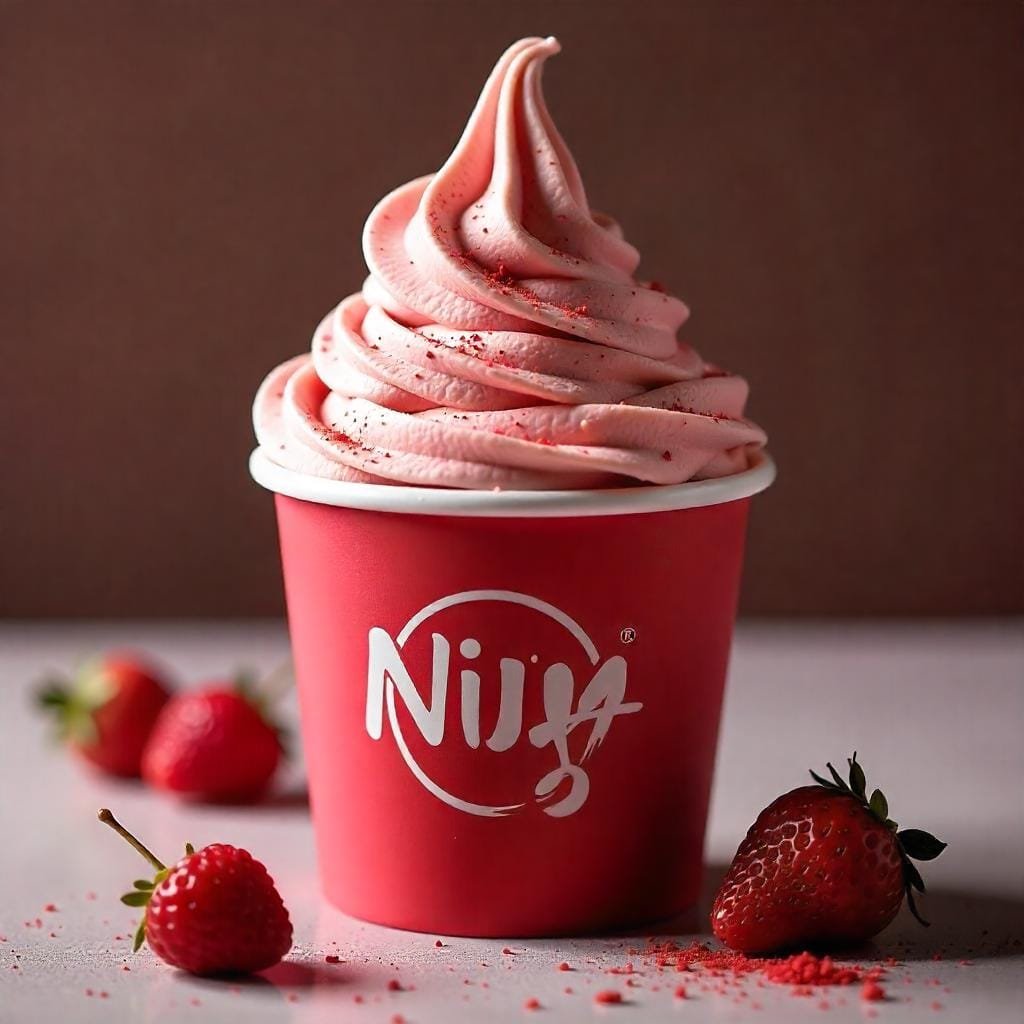
Ninja Creami Red Velvet Ice Cream is a delicious and sweet delicacy, incorporating all parts of normal ice cream combined with the red velvet cake flavor. It tastes naturally red and has a smooth texture which is ideal for a suitable dessert course on a basic family meal, a family reunion, or an event on holidays. It has a cocoa-based batter, buttermilk, and vanilla with an added flavor that makes the cake taste great and great with cream cheese frosting taste that is tangy. Therefore, the softness of the cocoa, cream cheese, and red velvet puts the Red Velvet Ice Cream in a league of its own and gives one a deserved feel of taking a dessert.
Ingredients
For any yummy and appetizing Red Velvet Ice Cream that is attractive, here are some elements that are very important in enhancing the right flavor to the confectionery. To get started, you’ll need the following:
The essential ingredients in red velvet cake are shown below:
- Cream cheese: It had to be a contrasting ingredient so that it would balance the sweetness of the red velvet ice cream.
- Cocoa powder: This alone makes the dessert tastier and gives the dessert even more taste.
- Vanilla extract: It also has the side benefit of raising the general taste of the food product by adding a degree of natural sweetness and aroma.
- Buttermilk: This makes the ice cream light and tangy in its feel.
- Red food coloring: Contributes to creating the red hue of red velvet.
Equipment Needed
To make your homemade Red Velvet Ice Cream, you’ll need the following:
Ninja Creami Machine
This recipe requires a Ninja Creami in which a specific paddle is used to turn the blend into an ice cream with a creamy consistency.
Any other equipment that one can use when taking measurements in addition to the tools chosen in the exercise.
1. Measuring cups: To get ingredients correct if one is in doubt, or to get the right proportions of an item required in a recipe.
2. Mixing bowl: For blending food products that have been prepared to be frozen.
3. Spatula: As an emulsion tool and also to scrape the bottom of the bowl with the spatula.
4. Storing container: For the final step before churning the ice cream mixture to be ready at the right freezing point, The freezing of the ice cream mixture is important in attaining the right churning temperature.
Step-by-Step Preparation
Now that we are in the preparation stage and have all the recipes’ ingredients and equipment prepared, let’s prepare your Red Velvet Ice Cream.
Mixing the Base
1. For the batter you will need 1 ½ cups heavy cream, 1 cup buttermilk, ¾ cup granulated sugar, 3 tbsp unsalted butter, and vanilla. Stir it further till all the ingredients have been well blend in the mixture.
2. In a similar bowl combine ¾ cup all-purpose flour, 3 tbsp cocoa powder, ½ tsp baking soda, and ¼ tsp salt.
3. Start adding the dry mixture to the wet mixture little by little and do not whip the batter as it will produce lumps.
4. Further, mix 2 tablespoons of red food coloring in the batter and beat the batter until it becomes bright red.
Freezing the Mixture
1. Stir the red velvet ice cream mixture into a different bowl and then pour the free mixture into a freezer-safe dish before freezing for like ice cream, this takes 2–3 hours.
2. Finally, after the mix has been frozen, it becomes necessary to take the container with the yogurt mixture and place it in the Ninja Creami machine.
Churning in the Ninja Creami
1. Finally, remains effective to mix its ice cream content in the Ninja Creami as per the producer’s instruction. Usually, one has to lock the lid and start the ‘Creamer’ button to mix the food with the paddle in between 25–35 minutes.
2. After you are through churning, the Red Velvet Ice Cream can be poured into another bowl for serving and then returned to the freezer for 2 more hours to harden.
Customization Ideas
The best feature about Red Velvet Ice Cream is that you can very well change any of the ingredients that are put into it, to create more types of mouth-watering delightful pieces to consume. Here are some ideas to get you started:
Adding Cream Cheese Swirls
1. In a fairly large bowl, beat ¾ cup of room temperature cream cheese, 2 tablespoons of powdered sugar and ½ teaspoon of vanilla extract. Whisk until smooth.
2. After churning the Red Velvet Ice Cream but still, soft, scoop spoonfuls of the cream cheese mixture and make swirly in the ice cream with a knife or skewer.
3. Both tips and tongs were to keep freezing and churning in the manner that is described above.
Check Out: Ninja Creami Zesty Orange Creamsicle – Flavor#07.
Achieving the Ideal Texture
1. The fats are utilized in a way that one has to ensure that the mixture gets to an appropriate low temperature before the freezing starts so that ice crystals will not form.
2. Blend the ice cream until you reach the right consistency on the creaminess of the ice cream.
The job of keeping the Red Velvet Flavor stable
1. For the sweetness of the ice cream, it’s recommended that one should use a small proportion of cream cheese in order not to make the ice cream too sour.
2. Cocoa powder and red food color are always recommended to produce the best-read color in red velvet cakes.
Conclusion
Out of the red velvet cake and rich ice cream flavor, Red Velvet Ice Cream is one of the most delicious Homemade ice creams. Besides this, it also allows you to have your sweet and have a marvelous ice cream a social dessert all within your home, all from the comfort of your own home. This is even easier done with the help of the Ninja Creami machine, which can easily be turned into another and try different combinations of flavors and create a dessert that will be different from the others.
For more info in-detail: Click Here.
FAQs
Do you think I have another option in preparing Red Velvet Ice Cream If I am not using the Ninja Creami machine?
Nonetheless, it is possible to make Red Velvet Ice Cream using an ordinary ice cream maker, though it is also possible to make the confection using a freezer and a whisk – it will feel quite different.
For how many weeks is the Red Velvet Ice Cream allowed to be stored in a freezer?
Red Velvet Ice Cream has to be frozen because of the heavy cream used in making the recipe, which will stay good for two to three weeks in a sealed container. Some should be consumed within the 2 weeks due to differences in texture and taste.
Can buttermilk be replaced with dairy or plant-based milk?
Buttermilk used in the Red Velvet Ice Cream is supposed to bring that right sharp taste with the fluffy texture, however, regular or any type of non-dairy buttermilk can be used here. This will however have some effects on the taste and texture of the final product that is produced by any firm.